Showing posts with label Beauty Tutorial. Show all posts

Tuesday, 12 March 2013

How To: Contour and Highlight

Everyone wants a thin face. Not necessarily a gaunt, anorexic looking one, but a thin, chiseled face with those supermodel cheekbones. Contouring, highlighting and blushing are your new best friends from now on. Here's how to use them:
Below is an image of the face, marked with where your highlights and contouring should be. Obviously, the white is a highlight, and the brown is contours. In the space on the cheeks between the contouring and the highlight, you should apply the blush. 

This image is very advanced. I don't have a lot of time in the mornings, and I only contour and highlight maybe 1/3 of what this picture is showing. I like to run a bronzer under my cheekbones and chin, and onto my temples. I use a contour brush for the application of the product, but then I use a fluffy brush to blend it out. I could blend with the contour brush, but it takes longer, and as I said, I don't have time.

In terms of highlight, I find that if i applied as much highlight as in the picture, then I would look like a disco-ball. I like to apply my highlight sparingly, and only onto the tops of my cheekbones and up to my temples(only a bit). I find that this gives my face a subtle glow without looking tacky or shiny.

I apply my blush onto the tops of my cheeks. I think that I may have mentioned this before, but you should never apply blush onto the apples of your cheeks when you are smiling. When you are not smiling(i.e the rest of the day with a normal face), your blush drags down your face. However, if you apply blush onto the tops of your cheeks and outwards, your makeup will look youthful.
while this routine does sound like a lot of effort, it is worth it, and I can tell a difference in my face when I don't bother with this routine.

 Bronzer(Countouring)

The only cheap high street contour powder that I have found is MUA's Bronzed Perfection bronzer. This is a matte bronzer, which is why it is goof for contouring, however I would like something a bit more grey toned(to create a more realistic shadow). I apply this product with a Real Techniques Contour brush,and blend it with a big fluffy brush(this one is from Primark).

Highlight

I use the Sleek Glo highlight powder (the whitest shade), and a small fluffy brush from Claire's(I know, weird).

Blush


This blush is a gorgeous bright coral shimmery blush from Me Me Me, and the small brush is from Forever  21, but is similar to the Claire's one.

Cream Blush

My favourite cream blush is my limited edition Louise Grey for Topshop one. It's called Up In The Air. I use a Real Techniques buffing brush to apply this, but only because I haven't had time to get the Real Techniques stippling brush(which is apparently a lifesaver when applying cream blush.)

I hope this has helped you to achieve total face perfection, I would love to know what product you have found for contouring, and blush; leave me a comment!

Jennifer xx


Sunday, 3 March 2013

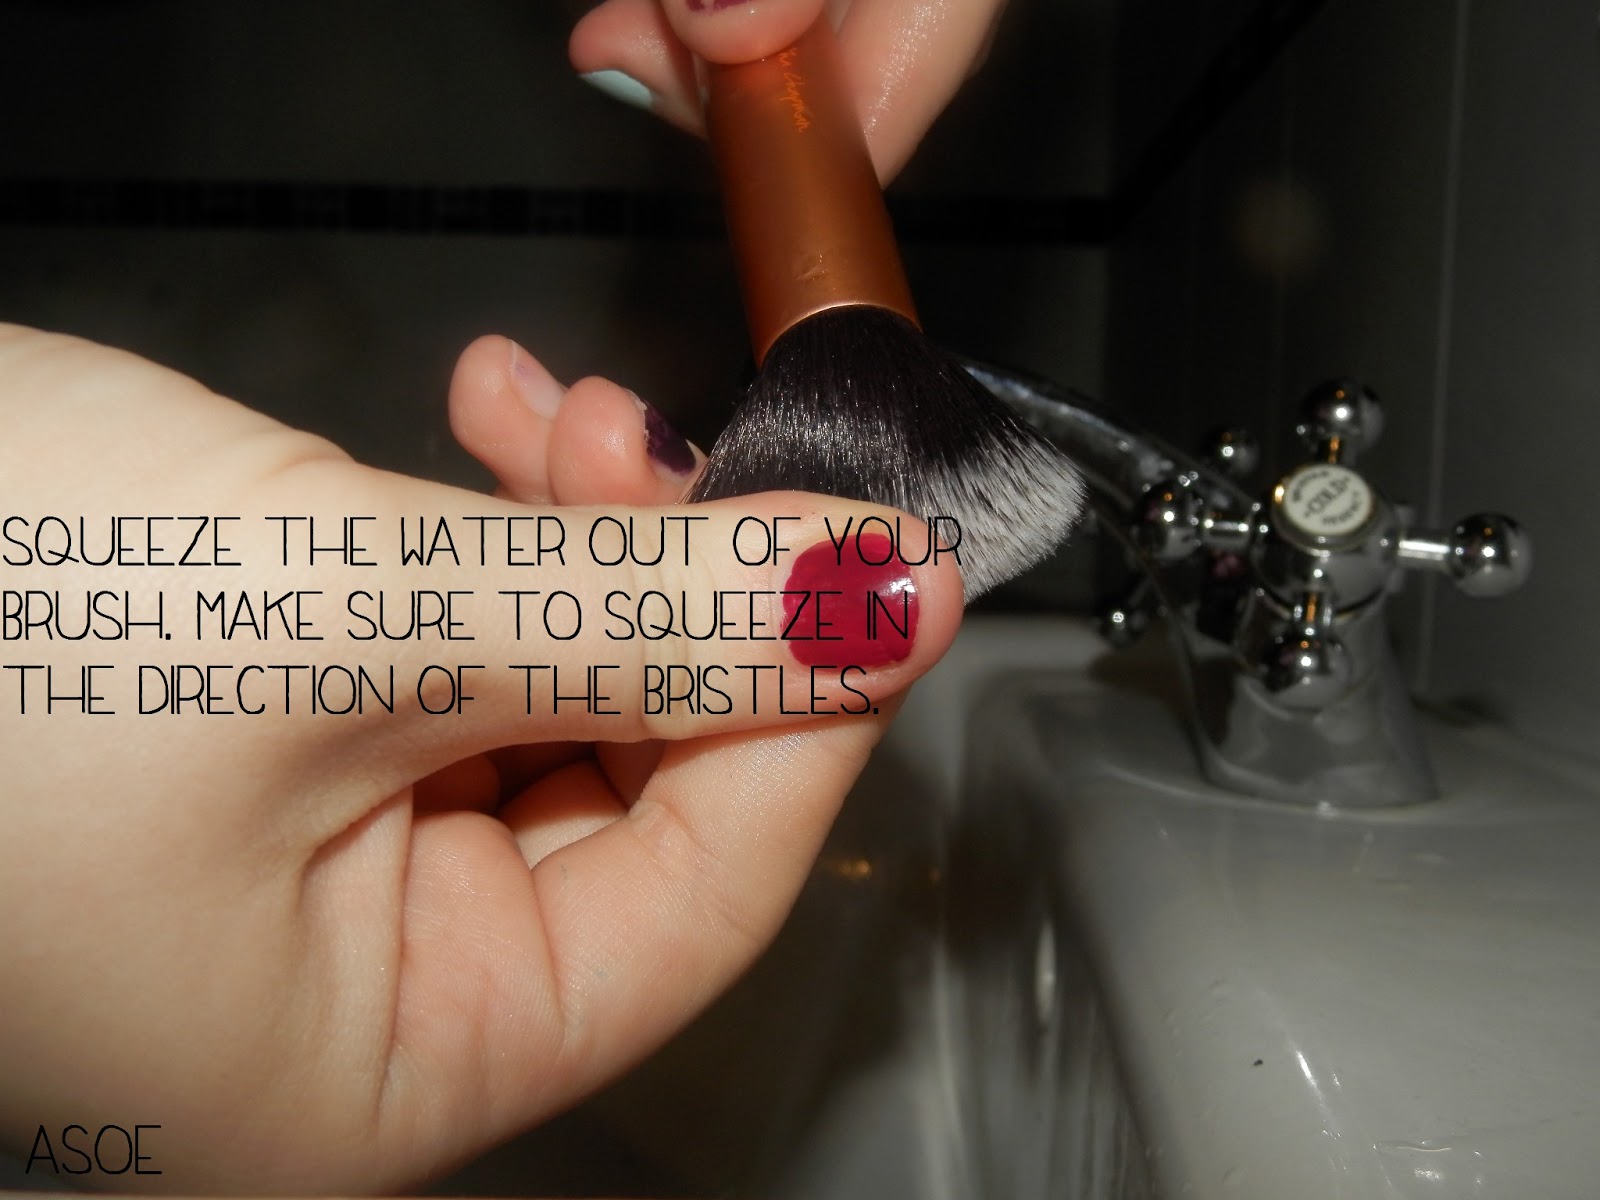
Cleaning Your Makeup Brushes

As I mentioned in my DIY Brush Holder post, I am going to show you how I clean my makeup brushes. I only clean them every two to three week, as I am not one to smother my face in makeup(as you can see from my relatively clean dirty brushes). However, I suggest cleaning your brushes, especially a foundation brush, once a week. Here is how I clean them;

I use the Johnson's Baby shampoo in Chamomile, as I like the smell and it leaves my brushes feeling very soft. However, if you feel like you need to really deep clean your brushes, Lisa Eldridge sugessts using the cheapest supermarket-own-branded clarifying shampoo, as it will really strip the brushes of any makeup.

Some people use a brush cleaner, but I really do not feel like spending my money on something when I can do it for next to nothing already. How do you clean your makeup brushes?
Jennifer xx

Wednesday, 27 February 2013

Weekend Manicure; Moody Mink Look & Review

So the other day I picked up a new nail varnish- kind of a spur of the moment thing, because I really don't need to be buying anymore nail varnish, but oh well. And to justify my unnecessary spending, I thought that I would write a post for you guys about it.


Please excuse the state of my nails in these photographs- they have recently started breaking really badly, and I just can't seem to leave them alone- any tips?

The nail varnish that I 'splurged' on was, in fact, carrying a mere £1 price tag. It is by MUA, a Superdrug own brand make up line that sells dirt cheap and remarkably good products. I bought the shade Moody Mink. It is a beautiful colour, but so hard to describe. I would say that it was a neutral taupe-y mauve, but that sounds disgusting! It looks really nice on the nails; it stands out, but at the same time, is neutral. I would class this as the perfect colour if you we're going to work or school, and bright colours are looked down upon. However, you could probably dress up this colour with a little glitter topcoat- I think a gold glitter would work really nicely.

For my manicure I simply painted two coats of Moody Mink, and had my ring finger as an accent nail. Having an accent nail is a really easy way to jazz up a plain manicure, and can look great with similar colours or contrasting ones! For the accent nail I used a Claire's Accessories nail polish.

This look is so budget, but still manages to look sophisticated and glamourous!

What do you think?

 MUA Moody Mink, Claire's Accessories Polish

Have a nice weekend!
Jenny xx

Monday, 11 February 2013

Girly Valentine's Makeup Look


Today, in honour of Valentines I am going to show you how to achieve a girly, pretty makeup look, perfect for a date.

The Products:


I am going to write this in the order that I would put makeup on, eyes first, then face, and lastly, lips. This makeup look is made using entirely high street(or drugstore) products to make it as achievable as possible. However, you can switch the products for more expensive dupes, or your favourite products in similar shades.

Start by applying the matte pastel pink shade all over the eyelid, and then apply the colour tattoo directly on to the inner and middle lid. Buff the cranberry pearl shade into the crease- this create a softer crease look that a matte brown shade(the typical crease shade). Blend all of the shades where they meet, to make the eye look a bit softer and more romantic, and finish the look with a small dotting of the loose shadow powder in the tearduct area, and as a brow highlight.


Finish the eyes with one-two coats of mascara. I live the Scandaleyes mascara by Rimmel, as the wand it really thick and makes the eyelashes look really long. However, if you want a more natural look, try a brown mascara, or a purple one(this Benefit one is my all time fave!).

Keeping the face very simple and romantic, start with some pale Barbie pink blush on the cheeks, just above the apple; by applying blush just above the apple of the cheeks, you create a much more youthful look, as applying it on tha apple only looks natural when smiling- if you're not smiling, it pulls the face down. Dust a small amount of pearly highlighter(the top two shades) on the tips of your cheeks, to give more glow to your face. Finish with a dusting of pressed powder all over the face, paying close attention to the middle of the face, prone to oiliness. I have skipped foundation for this makeup look, as I wanted it to be as fresh-faced and natural as possible, but you can always add foundation if you want.

The idea of a bright lip transferring onto your dates lips after a sneaky end-of-date kiss is mortifying to me. Also, I'm pretty sure that all guys are terrified of gloss(it is very sticky). This Sleek tinted lip balm is the perfect alternative to lipgloss or lipstick. Simply pat it on the lips, and after a few seconds it will stain. It isn't sticky, and the colour lasts for hours- perfect. The Revlon Just Bitten Kissable Balm Stain is a great alternative to this lipballm, if you don't have access to it, I think that the shades Honey or Cherish are really cute for a date.

I hope that you all have a great Valentines day, and that this makeup look scores you some points with your date! 
Jennifer xx


Friday, 18 January 2013

How To; Galaxy Nails

Today is a  very exciting day- it might snow! I know that it is a common perception that every Christmas in England is a snowy white one, but I have only had one white Christmas in my life. However, it looks like it's going to be a snowy January 18th, so I'll keep you posted on that. Also, check out this girl on YouTube- she has only just started making songs, but is just fifteen, and really good.

Random fact; I love the stars. It makes me really sad that city and town lights block out the lights of the stars, so you can't see them shine. I recently saw a picture of 'galaxy' style nails, and immediately started trying to re-create them. Here is my tutorial of how I did it.
The final product

To get galaxy nails, I painted a base and then added to it layer by layer of colour, with a dry, clean sponge(make-up, or cleaning).
1.  Paint your nails with a base coat. 
2. Paint two coats of your favourite deep navy or black polish. I used a navy creme colour, but a shimmer navy would look gorgeous too. 
3. Dab a thin, random pattern of white polish over the top of the blue.
4.  Dab light pink over the blue and white.
5. Dab a layer of shimmer purple polish down the center of the nail.
6. Lastly, dab some silver glitter all over the nail, to recreate the millions of stars in the sky.
Finish with a  super shiny top coat.


I was feeling very lazy when I pained this nail, so I only did one; my index finger on each hand. I painted the rest of my nails with a bright candy pink colour, which really complemented the slight pink swirl on the starry nail.
Would you try astronomy nails?
Jennifer xx

Monday, 17 December 2012

Christmas Jumper Party

Hi guys! So, on Sunday I was invited to a birthday party with a 'Christmas jumper' theme!  I had a great time, and I wanted to share with you what I wore, clothes-wise, and beauty-wise.

FASHION;