Showing posts with label Brushes. Show all posts

Sunday, 3 March 2013

Cleaning Your Makeup Brushes

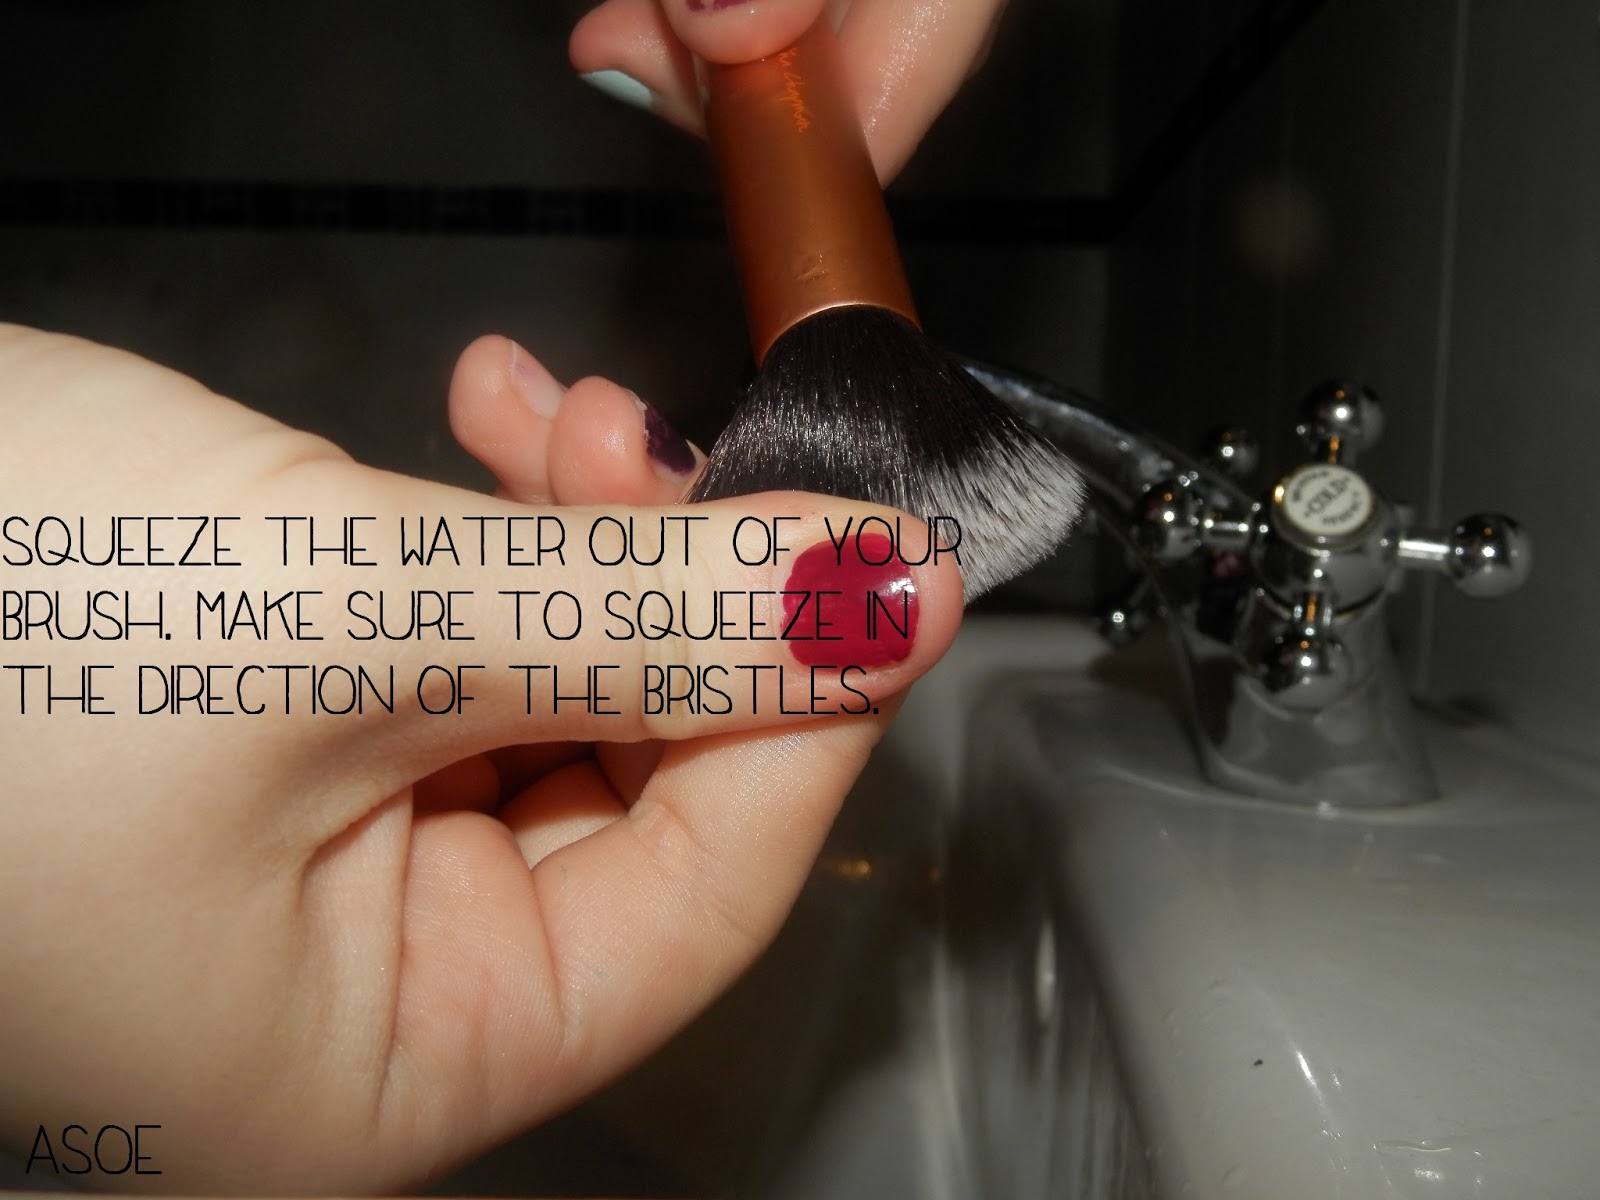
As I mentioned in my DIY Brush Holder post, I am going to show you how I clean my makeup brushes. I only clean them every two to three week, as I am not one to smother my face in makeup(as you can see from my relatively clean dirty brushes). However, I suggest cleaning your brushes, especially a foundation brush, once a week. Here is how I clean them;

I use the Johnson's Baby shampoo in Chamomile, as I like the smell and it leaves my brushes feeling very soft. However, if you feel like you need to really deep clean your brushes, Lisa Eldridge sugessts using the cheapest supermarket-own-branded clarifying shampoo, as it will really strip the brushes of any makeup.

Some people use a brush cleaner, but I really do not feel like spending my money on something when I can do it for next to nothing already. How do you clean your makeup brushes?
Jennifer xx

Friday, 22 February 2013

Real Techniques Kabuki Brush


This kabuki brush by Real Techniques is packed full of the softest bristles. The angle of the brush means that it is great for contouring as well as all-over-powder. I like to use this with my favourite face powder, Rimmel Stay Matte, down the centre of my face. 

 The clever thing about the brush is that it is split into two, connected by a middle hinge. The pars are held together by a magnetised centre, and when the brush opens you get an even bigger area to apply procut with. This is such an innovative idea , and definitely something that I could see being cool for powder o blush brushes in the future.

A real techniques brush for £2.75? I knew that they were cheap, but when I saw this unbelieveable deal in Superdrug(not online), and I simply couldn't pass it up. I am not sure if this deal is on at all Superdrugs(they have only recently started selling the Real Techniques brushes), but compared to the £11.99 that Boots are charging, I think that I may have to go back and stock up!

Do you think you'll be picking on up? 
Jennifer xx

Monday, 21 January 2013

DIY Brush Holder

After purchasing a few more brushes recently(blog post coming soon), I have come to realise that they don't actually fit in my current brush holder. So, what else could I do but make a new one?

I started with some paper, my brushes, some scissors, sellotape, and an empty tub. My tub is a quicky finished White Hot Chocolate tub from Whittards, but you can use a different size tub according to how many brushes it will be holding.


To start, I cut a srtip of my 'base' paper t fir the tub,and wrapped it round, securing with sellotape(you will be covering it, so he sellotape doesn't really matter).
The finishes result! On to the next step:

Next measure out the the top layer to cover the tub. Be super careful with this because it will show when you glue it on. I folded over the top of my paper, just to create a cute little trim!

Here is the finished product.

I put stones(the kind that go in the bottom of flower vases) in the tub to hold the brushes upright. The stones are quite big, so I think that I will be on the lookout for  some smaller ones.

Here is the finished product! I made a smaller one for my eye brushes(not pictured), keeping up with the spotty theme. 

How do you hold your brushes?
Jennifer xx

Sorry that some of my brushes were looking a bit dirty. I have a cleaning my brushes post coming up soon!