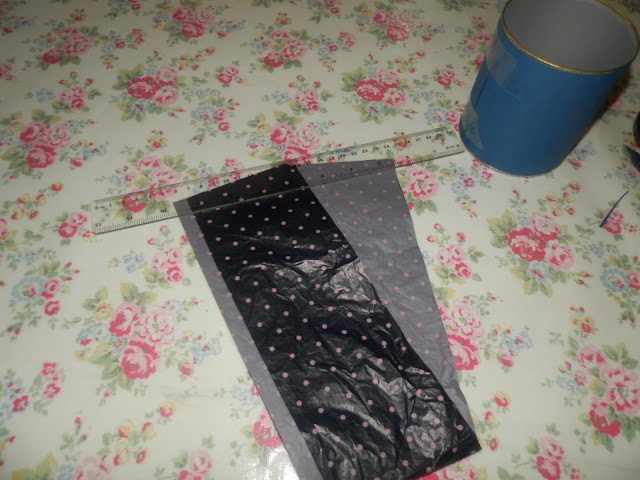
After purchasing a few more brushes recently(blog post coming soon), I have come to realise that they don't actually fit in my current brush holder. So, what else could I do but make a new one?
I started with some paper, my brushes, some scissors, sellotape, and an empty tub. My tub is a quicky finished White Hot Chocolate tub from Whittards, but you can use a different size tub according to how many brushes it will be holding.
To start, I cut a srtip of my 'base' paper t fir the tub,and wrapped it round, securing with sellotape(you will be covering it, so he sellotape doesn't really matter).
The finishes result! On to the next step:
Next measure out the the top layer to cover the tub. Be super careful with this because it will show when you glue it on. I folded over the top of my paper, just to create a cute little trim!
Here is the finished product.
I put stones(the kind that go in the bottom of flower vases) in the tub to hold the brushes upright. The stones are quite big, so I think that I will be on the lookout for some smaller ones.
Here is the finished product! I made a smaller one for my eye brushes(not pictured), keeping up with the spotty theme.
How do you hold your brushes?
Jennifer xx
Sorry that some of my brushes were looking a bit dirty. I have a cleaning my brushes post coming up soon!


No comments:
Post a Comment